

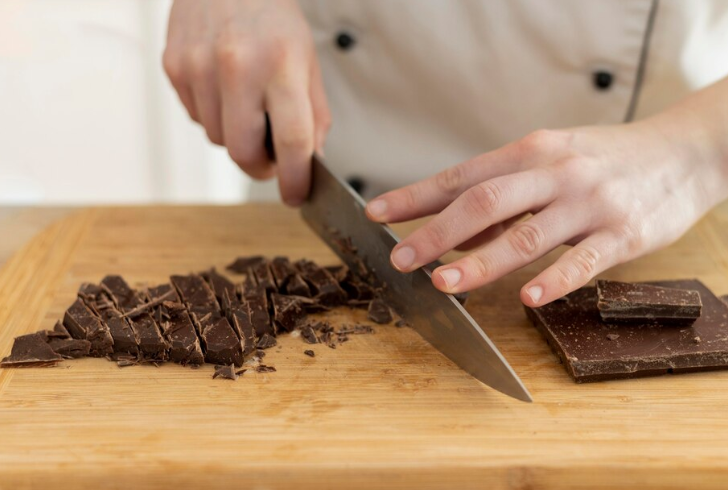
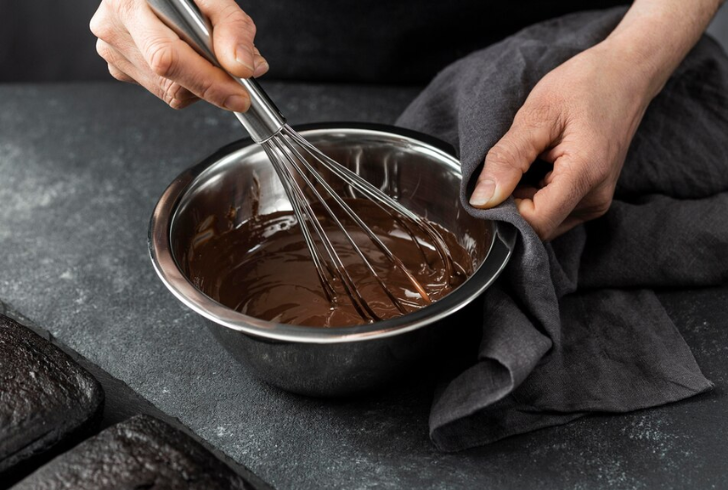
What is the Best Way to Melt Chocolate for Any Recipe?

More in Food
-
`
 Simple Steps to Make the Philadelphia Cheesecake Recipe
If you’re looking to make a dessert that never fails to impress, this Philadelphia cheesecake recipe is your go-to. With its...
August 21, 2024 -
`
 How Much Does It Cost to Travel in Europe?
Dreaming of strolling along the Seine in Paris, exploring ancient ruins in Rome, or sipping sangria on a Spanish beach? Europe’s...
August 13, 2024 -
`
 Mahershala Ali and Amatus-Sami Karim’s Decade-Long Marriage
Who is Mahershala Ali married to? This question often arises when discussing the acclaimed actor. Mahershala Ali, the talented and versatile...
August 5, 2024 -
`
 Is It Normal to Be Sore After a Massage? 9 Ways to Relieve Soreness
Is it normal to be sore after a massage? Many people schedule a massage to drift into a state of relaxation...
August 3, 2024 -
`
 Delicious Pescatarian Breakfast Ideas
Exploring new breakfast ideas can be a delightful way to start your day, especially when they align with a pescatarian diet....
July 24, 2024 -
`
 Is Phuket Worth Visiting in 2024?
Phuket, Thailand’s gem of an island, has long attracted travelers with its pristine beaches, lively nightlife, and cultural treasures. The question...
July 19, 2024 -
`
 How to Plan a Backpacking Trip Like a Pro in 16 Steps
Planning a backpacking trip can be as thrilling as it is daunting, especially if you’re keen to make every moment count....
July 5, 2024 -
`
 How to Build Fast-Twitch Muscles in 5 Simple Steps
Have you ever wondered how to build fast-twitch muscles? These powerful muscle fibers are key to explosive strength and speed. Whether...
June 20, 2024 -
`
 How to Create the Perfect Goulash Recipe Every Time
As autumn leaves paint the landscape in warm hues, nothing complements the chill in the air quite like a bowl of...
June 15, 2024
More From The Chef Pick
-
 Foods and Drinks to Avoid at the Airport, According to Experts
Airports are a hub of activity, offering a wide range of food and drink options as travelers rush to board their...
FoodApril 12, 2025 -
 Matt Damon’s Dating History: From Winona Ryder to Rhona Mitra
Matt Damon has always been one of Hollywood’s most-watched celebrities, not just for his impressive filmography but also for his intriguing...
EntertainmentFebruary 28, 2025 -
 The Complete Dating History of Star Singer Demi Lovato
Star singer with a voice as powerful as her presence, Demi Lovato has been in the public eye for years not...
EntertainmentFebruary 19, 2025 -
 Fitness is More Important Than Weight for Longevity, Study Reveals
Many believe maintaining a healthy weight is the key to living longer, but recent research suggests physical fitness plays a more...
Health & FitnessFebruary 15, 2025 -
 ‘Becoming Led Zeppelin’ Documentary – Release Date, Cast, and More!
“Becoming Led Zeppelin” is a highly anticipated documentary that delves into the rise of one of the greatest rock bands of...
EntertainmentFebruary 8, 2025
You must be logged in to post a comment Login